

This tutorial will show you how to create and run an Image Moderation job on Appen Basic.
There are seven basic steps to running a job:
- Choose a template: Choose the "Moderate Images" template.
- Customize your Job: Use the job editor to customize the interface that contributors will use to complete the job.
- Upload your Data: Upload the data that you want contributors to process.
- Preview your Job: View the job from the contributor's perspective.
- Create Test Questions: Use the UI to answer a set of your own questions.
- Launch your Job: Send the job to the crowd.
- Obtain Judgments: Monitor and correct Test Questions as appropriate.
- Retrieve and Interpret your Results: Complete your job, at which point results are automatically compiled, stored and aggregated.
1. Choose a template
Once you have logged in to your platform account, click "Create Job". You will be prompted to choose a template from the library. Choose the "Moderate Images" Template.
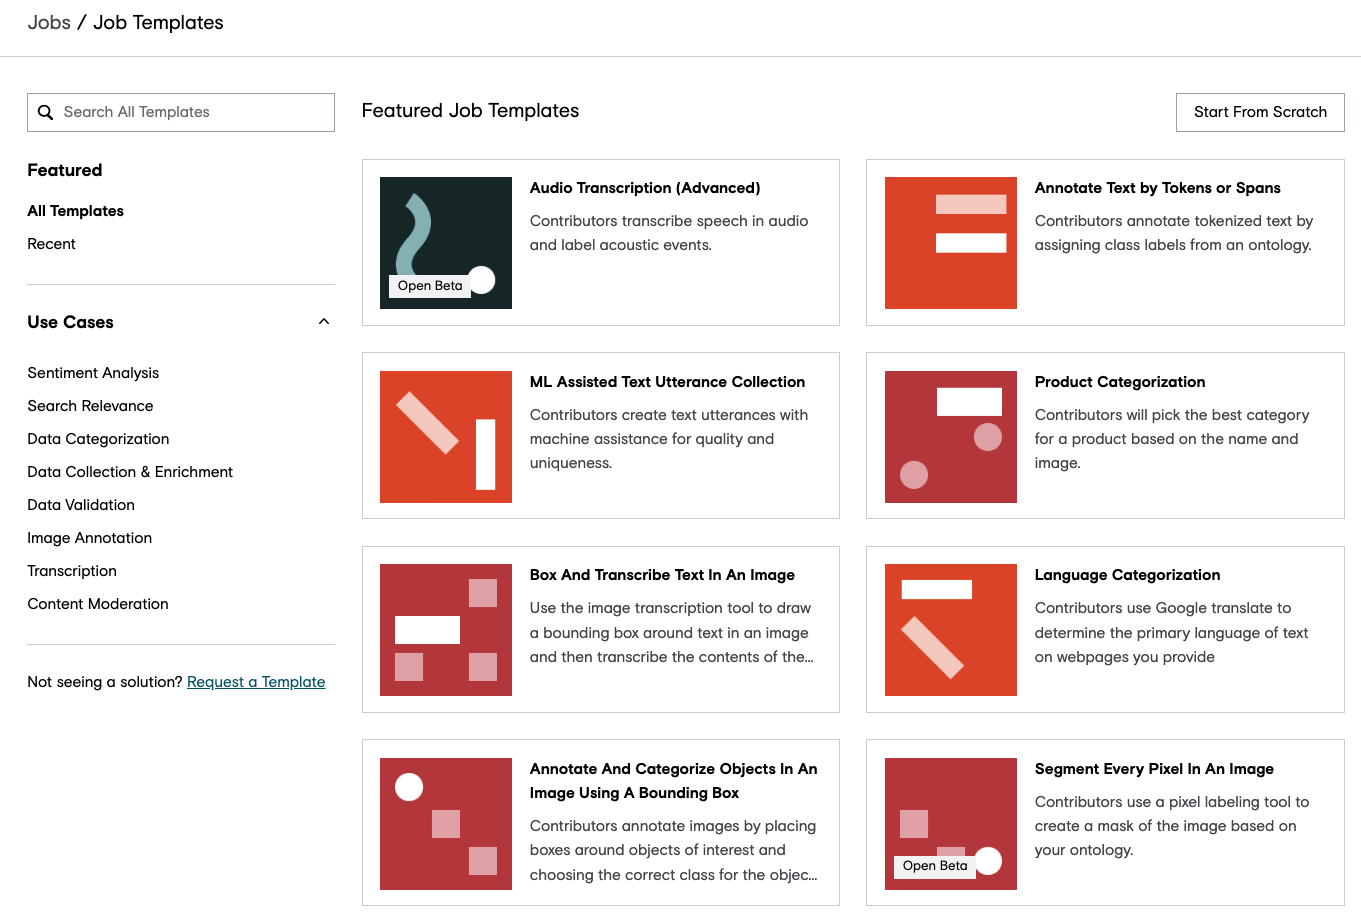
Fig. 1: Templates Page
Moderate Images Template
On the top right, choose "Use This Template."
2. Customize your Job
Once the template has been chosen, it's time to customize the job to your dataset.
Navigate to the instructions and edit the moderation guidelines to match your criteria.
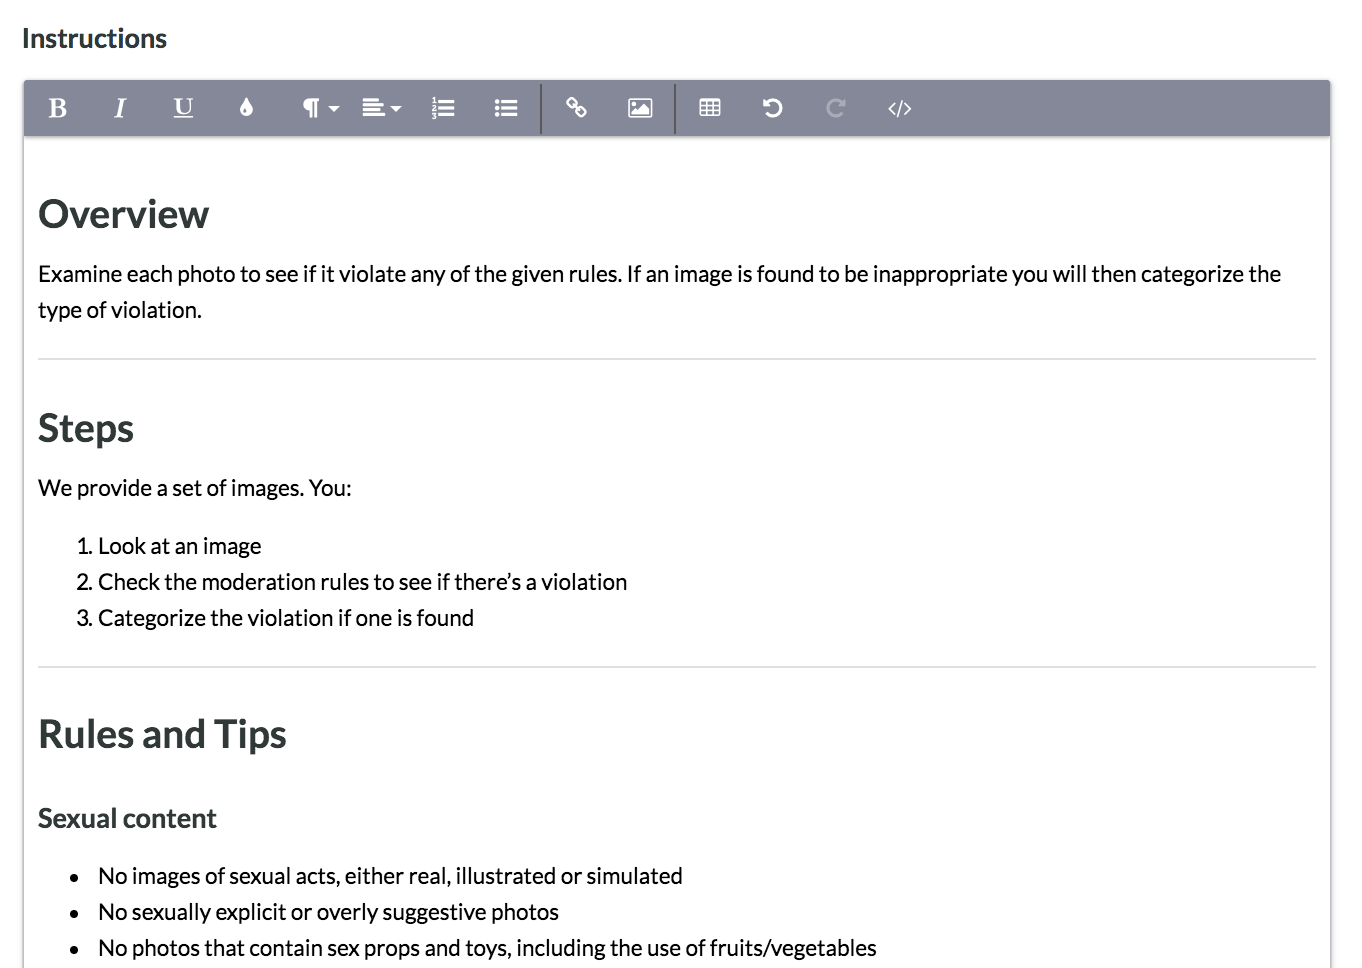
Fig. 2: Edit The Instruction Via The Design Page
Customize your Job Instructions
If you decide to add any new categories, be sure to add them as a reason option in the Code Editor.
Add any additional instructions or context that might help contributors in the instructions.
3. Upload your Data
First, you will be prompted to add data to the job.
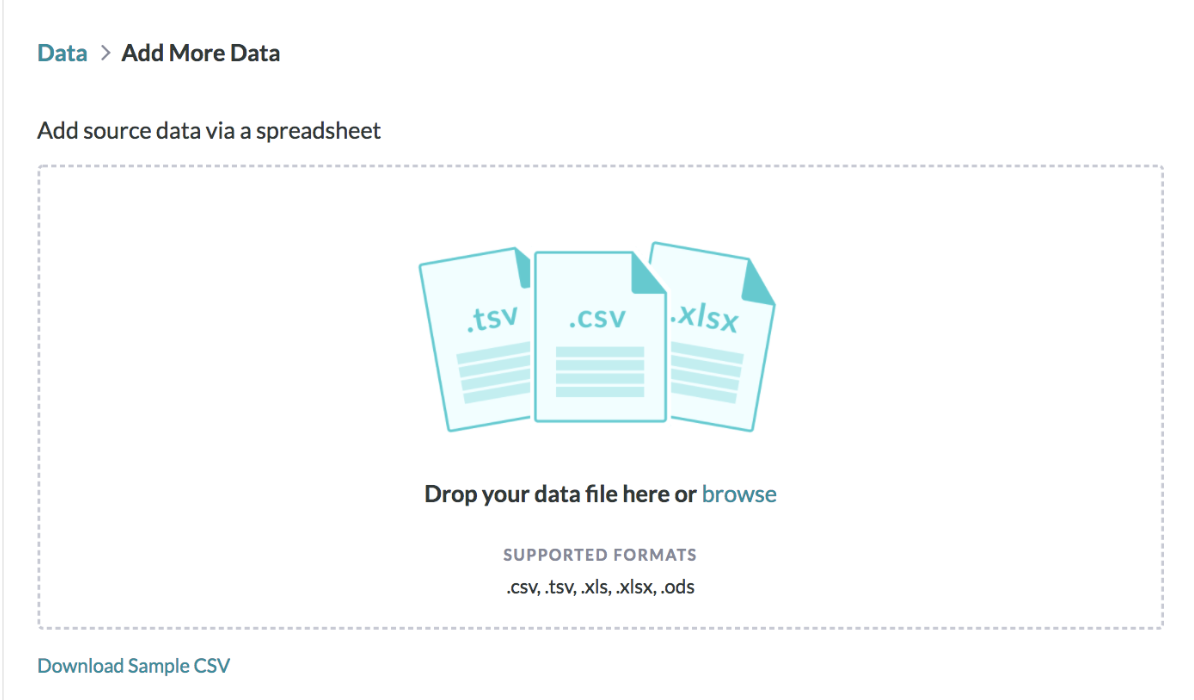
Fig. 3: Upload The Data Via The Data Page
Upload your Data
Next, choose "Upload File" and select the dataset for your job.
Note: CSVs need to be UTF-8 encoded
4. Preview your Job
To ensure the job is as you expect, click the "Preview" button on the right side of the page or on the Design section of the job build process. This will open a preview of your job which shows exactly what contributors will work on.

Fig. 4: Preview Page
Job Preview
5. Create Test Questions
The next step is to create Test Questions. This will allow you to answer some of your own rows that can be used to test contributor performance on a job.
Visit the How-to Create Test Questions article to learn how to create Test Questions and the Test Question Best Practices article explains the characteristic of great test questions.
6. Launch your Job
Before you launch the job, it is advantageous to use the Job Launch Checklist to ensure everything has been considered in the settings of your job.
When you have completed the checklist, click Launch on the right navigation panel. From this page, you can also specify the number of rows from your entire dataset you would like to order.
You will be prompted with the cost of the job you wish to run and an option to add credits if you lack sufficient funds in your account to cover the amount displayed.
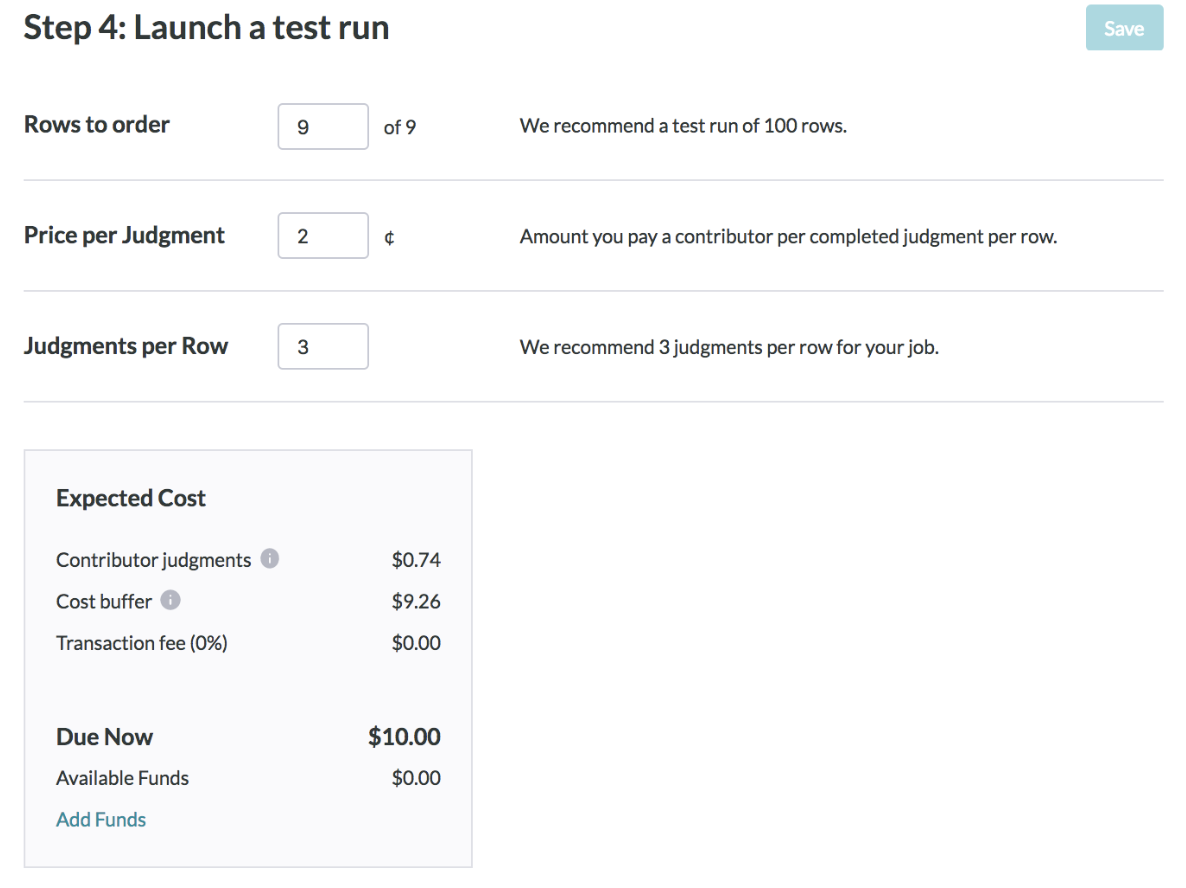
Fig. 5: Launch Page
Launch your Job
7. Obtain Judgments
From the moment you launch your job, you can use the dashboard on the Monitor page to check on the status of your job and quantify the number of judgments rendered.
8. Retrieve and Interpret your Results
While you might wait until you job is completed to review your job’s results, you can generate and download your results at any time by navigating to the Reports page.
There are six reports to choose from:
Full
This report includes every judgment made by every contributor. It contains (among other things) contributor IDs, trust rating, labor channel, and contributor judgments. You'll use this CSV to dive deeply into the data to understand patterns (e.g., maybe all contributors from a specific region are providing poor responses, but you wouldn't be able to tell that from the Aggregated CSV).
Aggregated
The aggregated report includes one result for every row. Since multiple contributors answer each row, the aggregated CSV aggregates contributor's judgments based on individual contributors' trust ratings. This CSV is what you are likely to interact with the most.
Source
This is the original source data from the data file you uploaded earlier.
Test Question
The Test Question report includes data on the responses gathered by your Test Questions.
contributor
This report includes data on the contributors who participated in the job.
Json
The Json report is a JavaScript Object Notation format for the aggregated report.
Note: By default, the results in the aggregated report contain the response that the system has determined to be correct, based on contributor agreement weighted by trust. See the How to Calculate a Confidence Score article to learn more about aggregation. A confidence score is included with every field in the form. This numerical value indicates how confident you can feel that the result is correct.
This tutorial is the simplest way to successfully run an Image Moderation job on the Appen Platform. Without the restrictions of the RTFM app, you can completely customize the User Interface, Settings, and Instructions of any of your jobs. To learn more about how to build a job on the Platform, please visit the Success Center.
This tutorial only highlights the basic features provided by the Appen Basic product. For more information on the features available to you, please visit our Success Center or email us directly at help@figure-eight.com. If you don't have an account, you can sign up now.