

This tutorial will give you a step-by-step guide on how to run the most common search relevance job on Appen, namely comparing a list search terms to their search results. This can be useful if you are looking to train an algorithm or QA your ecommerce website’s search results.
Build the Job
You can create a job from scratch or you can use one of our Search Relevance templates (sign-in required), which are a great place to start if this is your first job.
Upload Data
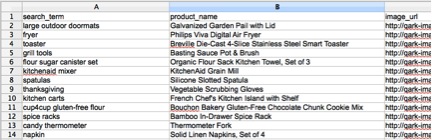
Your source data should include columns titled search_term, product_name, image_url (resulting product image), html (product description), and product_url (link to product page). If you don’t have some of these elements in your source data, make sure to remove those elements from the template. Also, ensure that the columns in your source data are named appropriately.
Note: CSVs need to be UTF-8 encoded Your data should look like this:
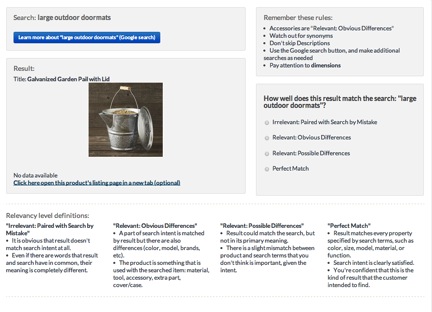
When you load the source data into the job, the job preview will look like this:
Check the Job Structure
In this job, we will show contributors a search term, a search result, and guidelines for determining the level of match. If they are confused, contributors can use the Google search button to see more information about the search term. Based on the provided rules, contributors will determine how well the result is matched to the search term. Contributors will use given a 4-point scale to make a determination about search relevance, but you can customize that scale further if you’d like a 2, 3, or 5 point scale. We recommend using a scale of no more than 5 points, because with that many levels, describing the differences between them becomes very difficult.
Read through the template and make sure the instructions are consistent with the source data and your expectations for the job. Feel free to modify the template to remove images or descriptions. The values for the levels of relevancy are 1-4. If you would like the values of the output data to be 'irrelevant' instead of '1,' make sure to change the values for the radios in the CML. And, of course, feel free to tweak the relevance definitions to meet your use-case.
Create Test Questions
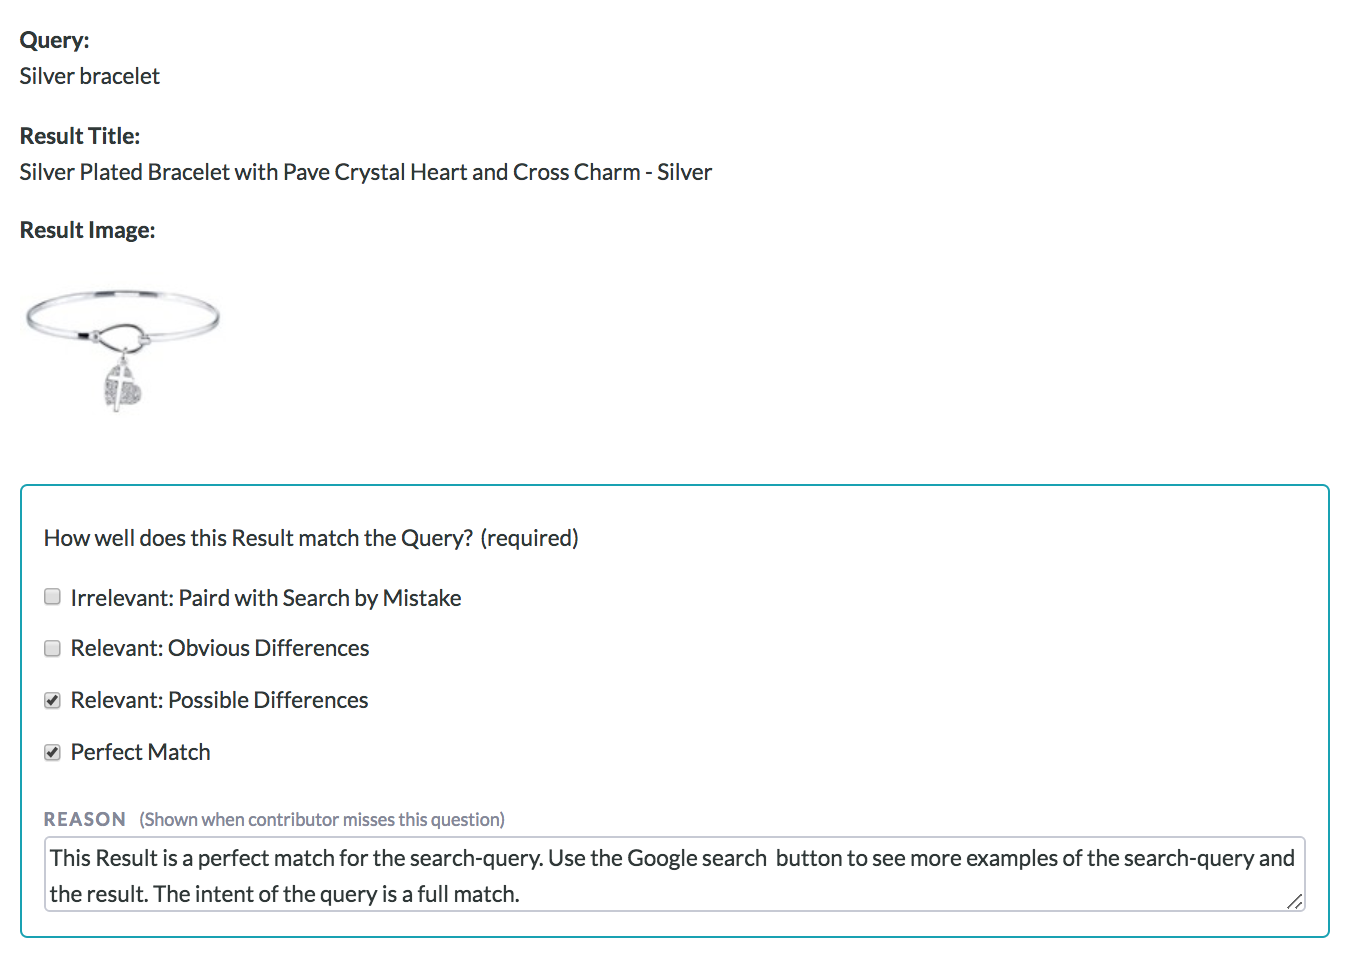
Next, create Test Questions for your job. While we try to provide as many guidelines as possible, this type of job can still be very subjective. It’s important to create Test Questions that allow contributors some flexibility in their answers. One way to do this is to select multiple correct answers, like “Relevant: Obvious Differences” and “Relevant: Possible Differences.”
When you’re creating Test Questions, take care to write reasons why you selected the answers you did. Here’s why: when a contributor misses a Test Question, the reason will be displayed, explaining why the they missed that test question. When creating the reasons, make sure to mention how you found the correct answer. For more information on Test Questions, visit Test Question Best Practices and How-to Create Test Questions.
Note: You can save more than one response for each question in the job.
Check the Job Settings and Launch
Check the settings under the Job Settings tab. We recommend the following settings: On the Launch page, set the Judgments per Row to 3, and the number of cents per Page to $.02-$.04. From the Pay page, you can set the amount of rows per page you would like. We also recommend a minimum test question accuracy of 70%. To set the accuracy, go to Settings and click on Quality Control > Test Questions. You will see a place to input the Minimum Accuracy. After the settings have been adjusted, launch your job. We recommend creating at least 50 test questions, or 0.5% of your data, whichever amount is greater. Check out our Job Launch Checklist to make sure you have all the essential settings in place before launching your job.
Monitor the Job
While the job is running, be sure to monitor the Test Questions and add acceptable answers as needed. Filter for most missed or most contested test questions to double-check you didn’t any errors when creating Test Questions and also to see what parts of your job are giving contributors the most difficulty.
Download the Results
When the job is complete, review the results with the aggregated report. The relevancy results will be included in the 'relevance' column, with values that are either 1-4 or irrelevant-perfect match, depending on the structure of your CML. If you chose to rate the results numerically, you can select the 'avg' aggregation method to get an aggregated numerical rating. Otherwise, you can aggregate with 'agg' to get the most highly agreed on result. Choose whichever works best for you.
Utilize the Data
At this point, you will have obtained information about the relevancy of a search result to a search term. You are well on your way to improving the customer experience on your website!
Note:
By default, the results in the aggregated report contain the response that the system has determined to be correct, based on contributor agreement weighted by trust. See the How to Calculate a Confidence Score article to learn more about aggregation. A confidence score is included with every field in the form. This numerical value indicates how confident you can feel that the result is correct.