This article describes how to create and run a Sentiment Analysis job on the Appen Platform.
1. Choose a template
Once logged into the platform account, click "Create Job" to be prompted to choose a template from the library.

Fig. 1: Create A Job
Next, click "View Templates" to choose one of the following templates "Sentiment Analysis", "Judge the Relevance and Sentiment of Content", and "Judge the Sentiment of Tweets".

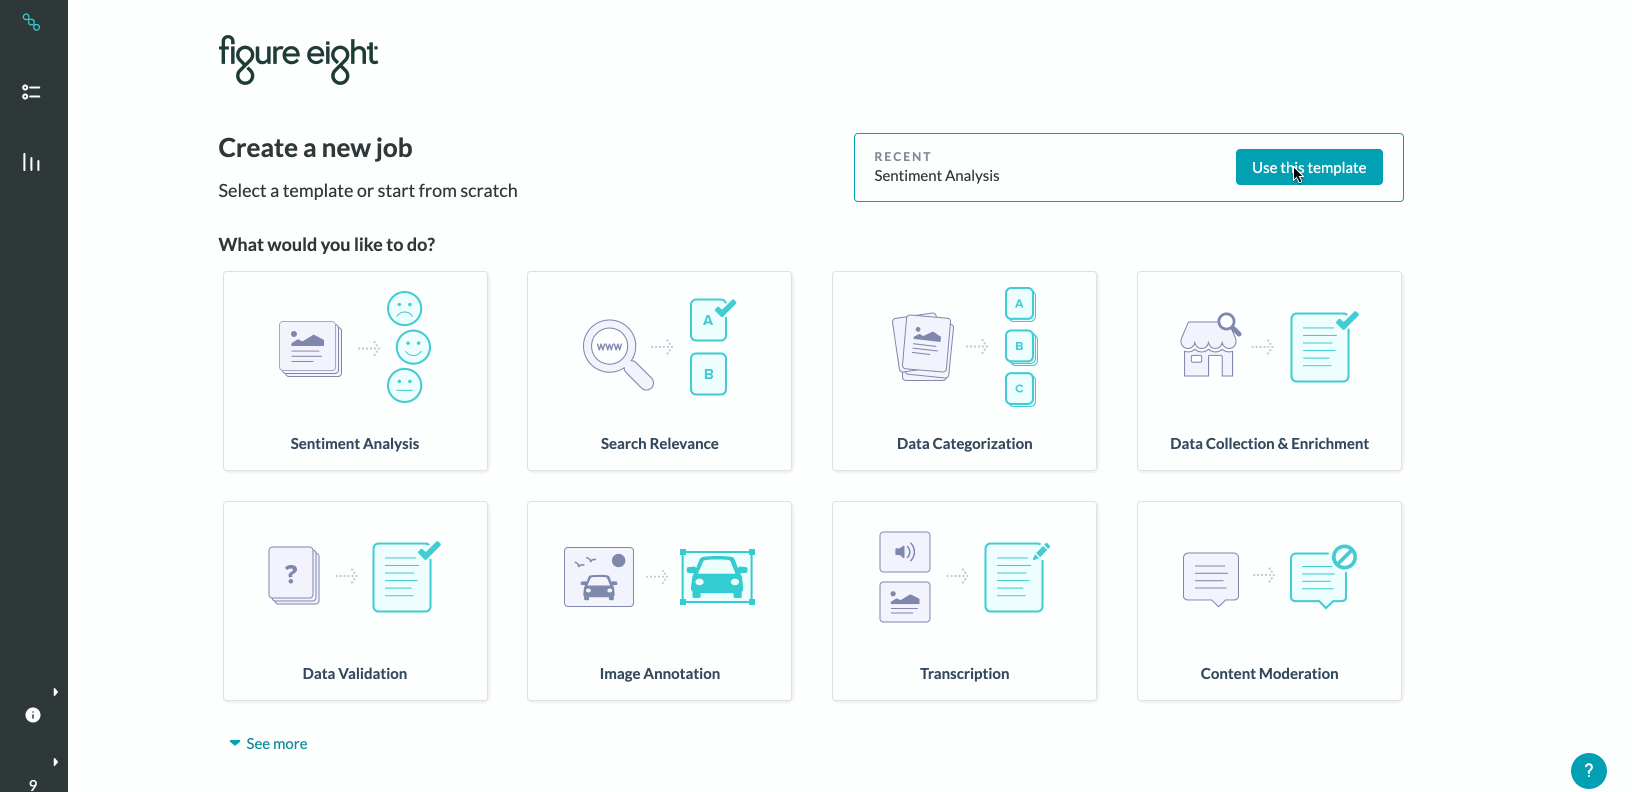
Fig. 2: Choose A Sentiment Analysis Template
2. Upload The Data
First, either drag and drop the data file or click on "Browse" to select and upload the desired dataset into the job.
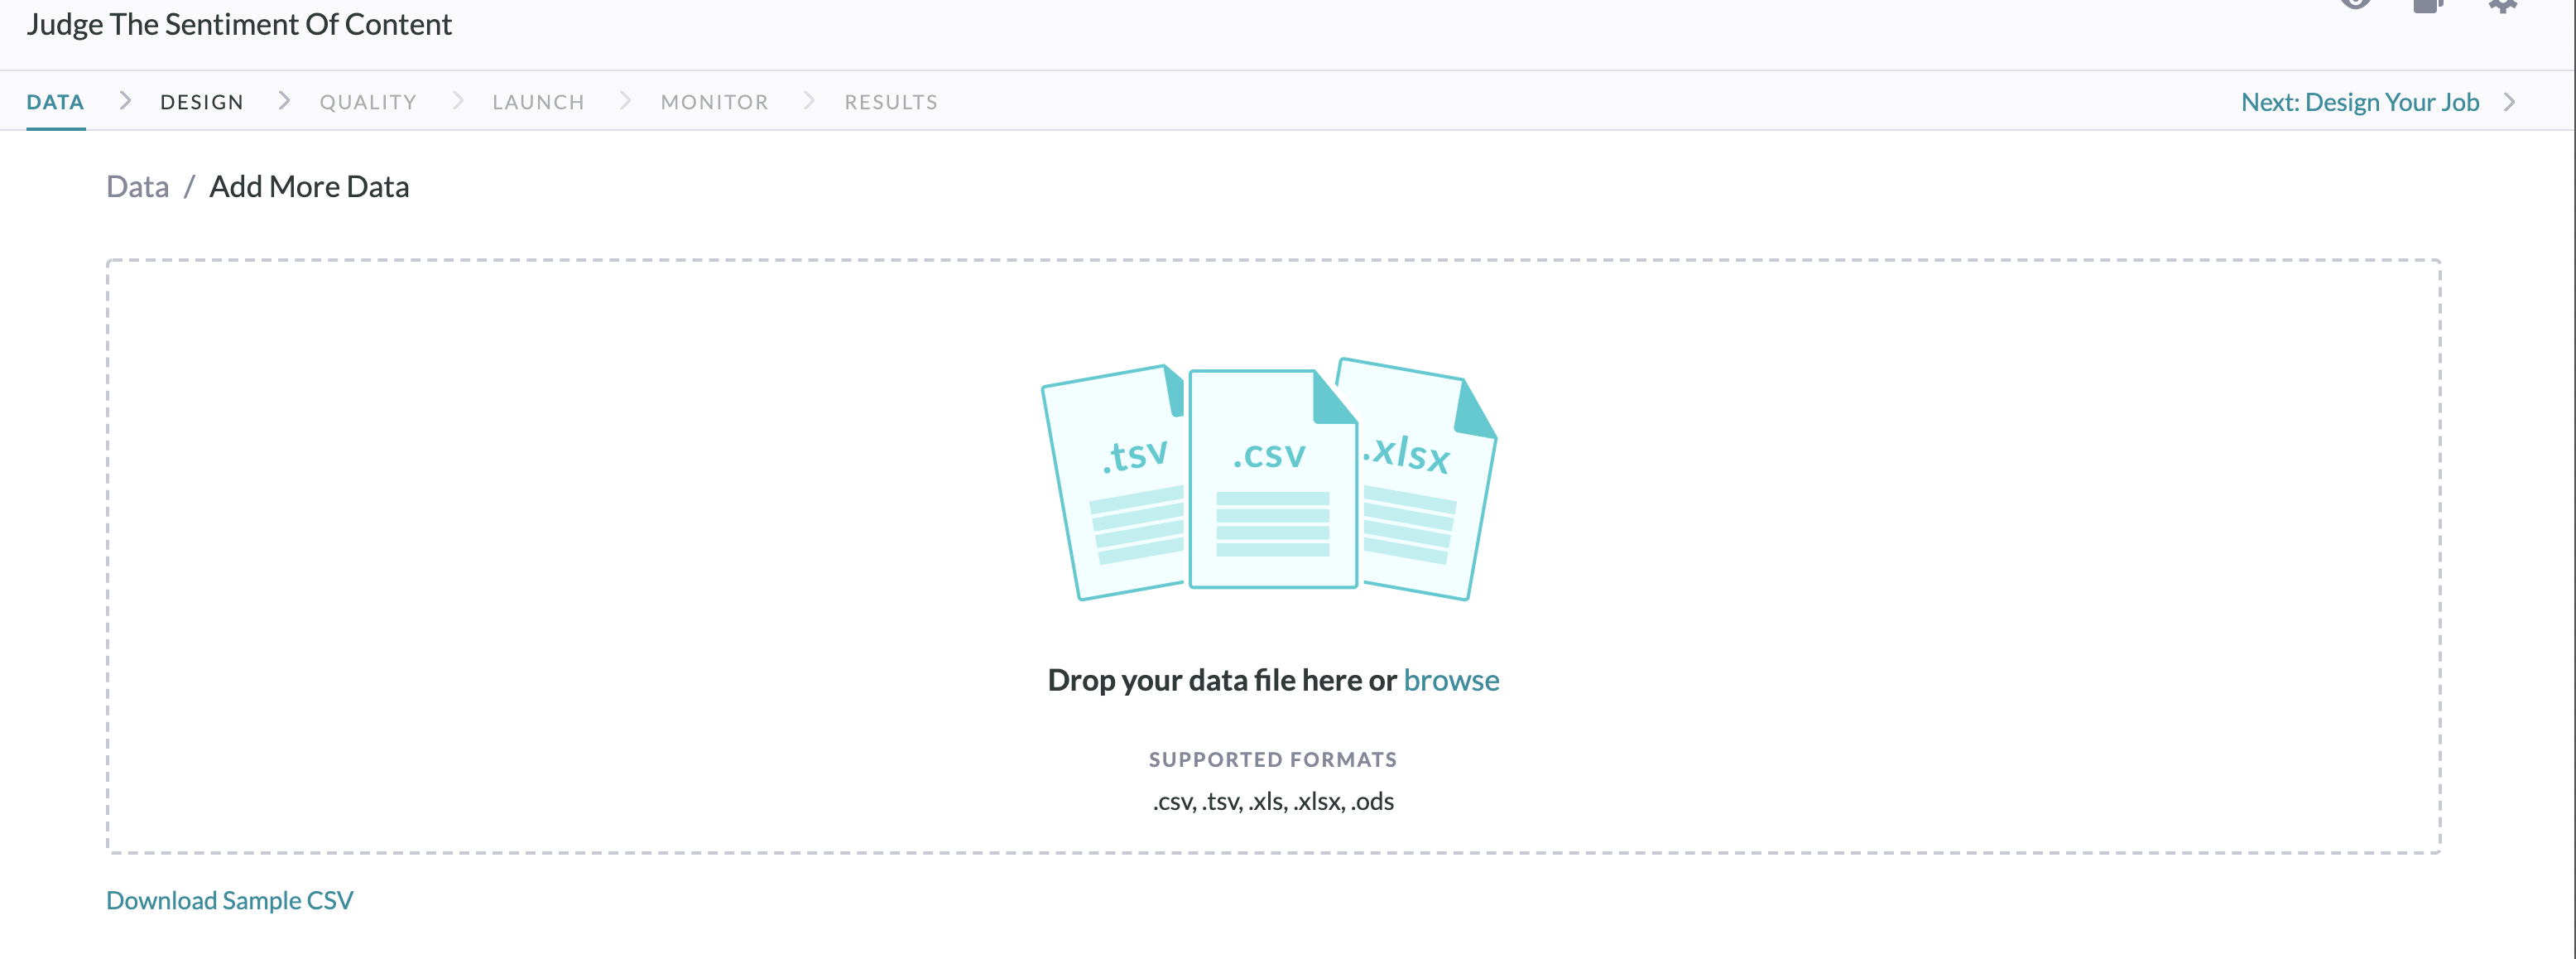
Fig. 3: Upload The Data
Note: CSVs Need to be UTF-8 encoded.
3. Design The Job
Once a template has been chosen, it's time to customize the job to the dataset.
In the Design Page update the Title, Instructions, Insert Data, and add Questions.
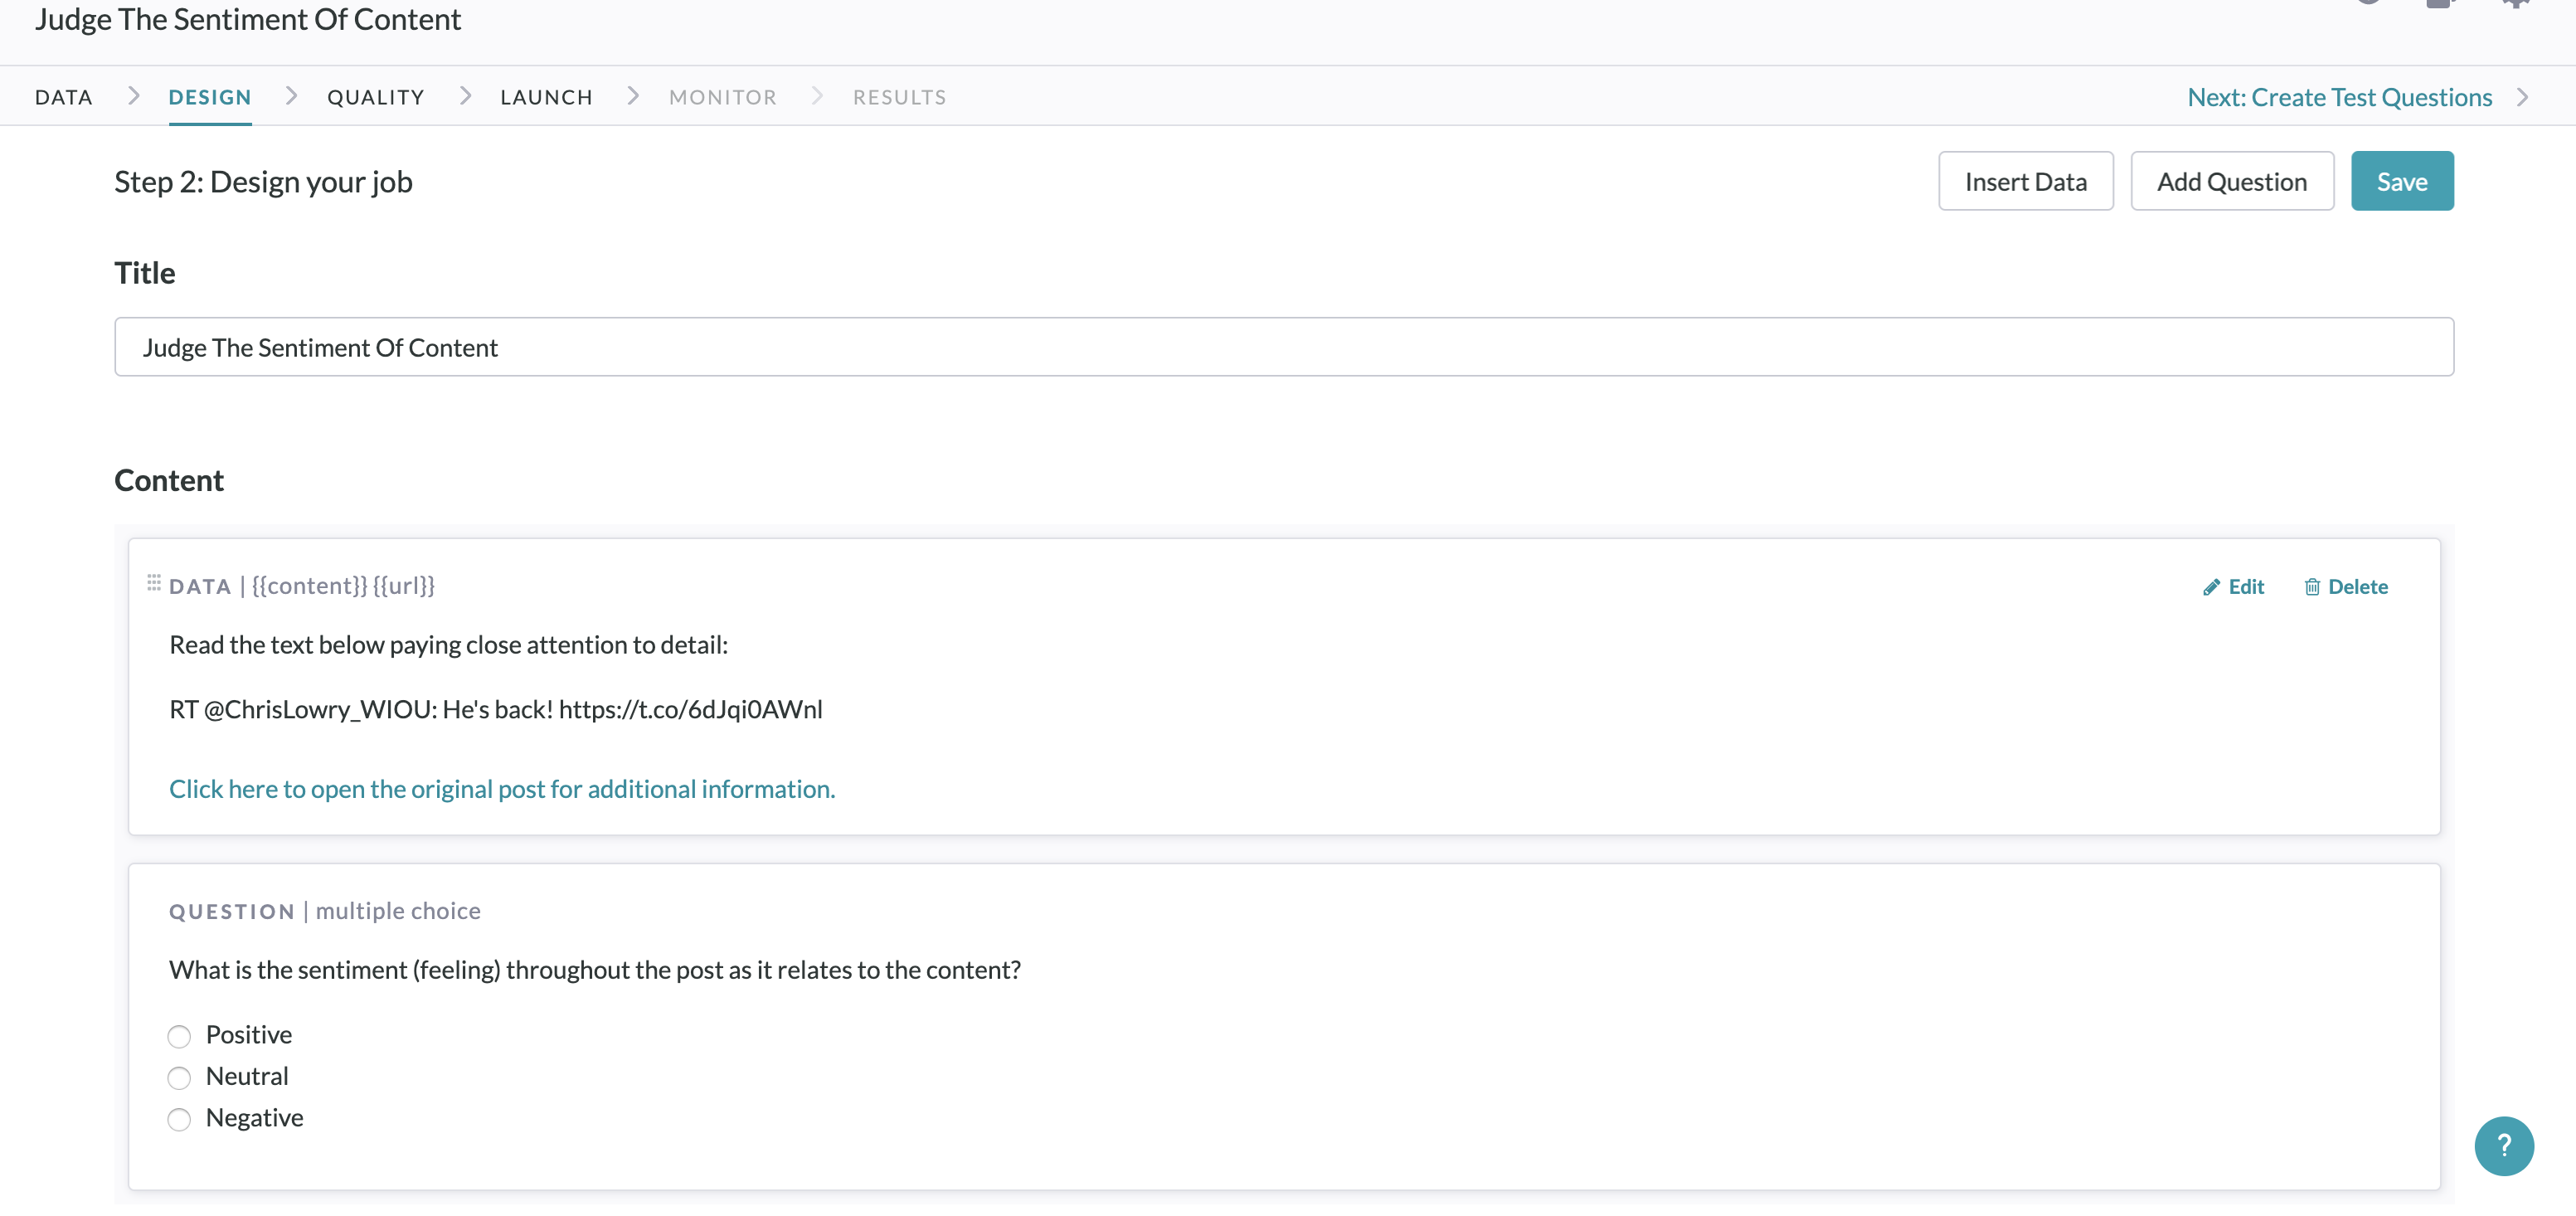
Fig. 4: Customize The Job
Add any additional guidelines or context that might help contributors in the instructions
4. Preview The Job
To ensure the job is working as expected, click the "Preview" button on the top right corner of the page. This will display the job as it will appear to contributors.
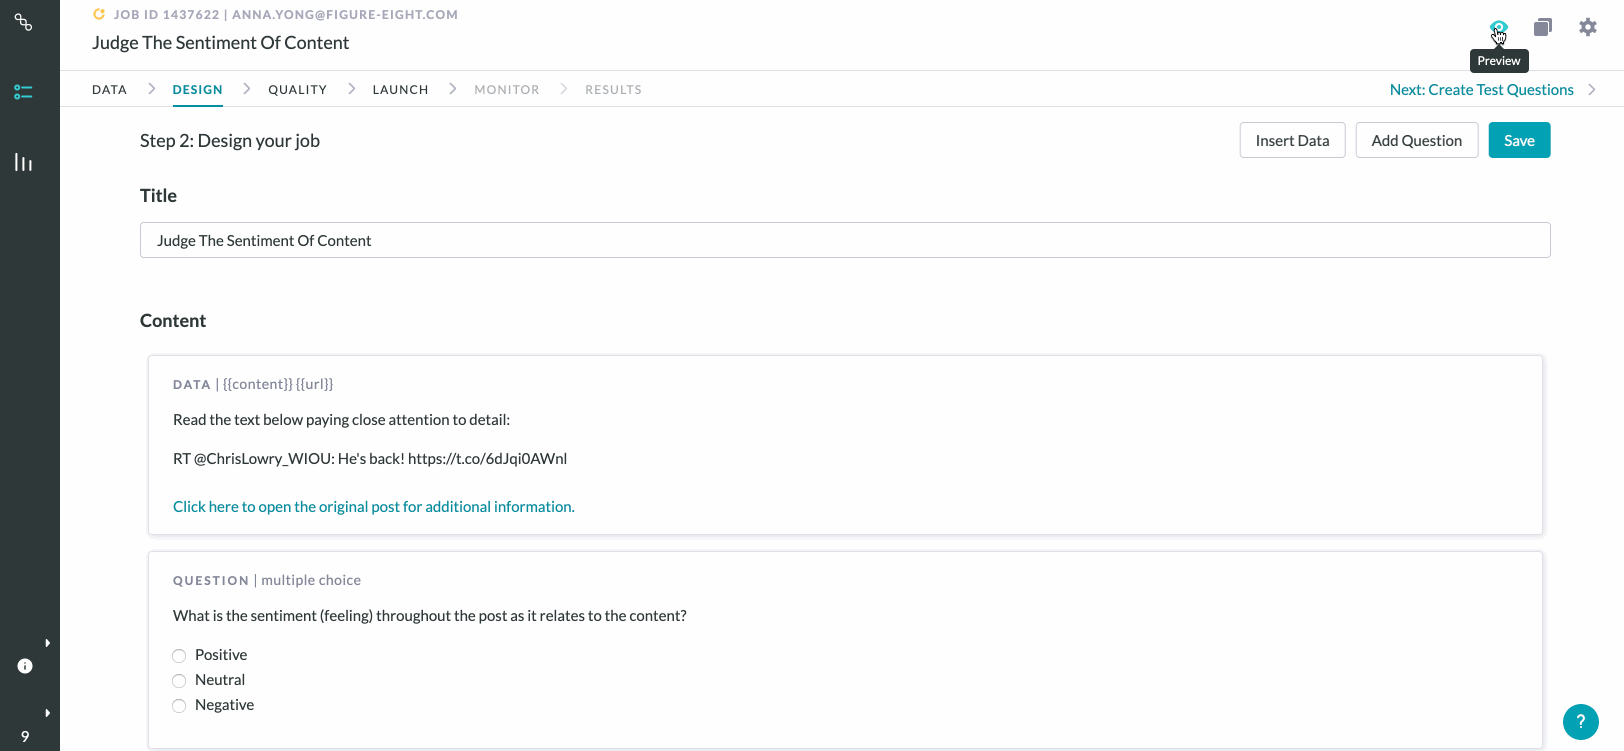
Fig. 5: Preview The Job
5. Create Test Questions
Navigate to the 'Quality' Page to create Test Questions. Proceed through each of the rows, selecting ones that will be used to test contributor's performance on a job. The Test Quetion Best Practices article explains the characteristic of great test questions.
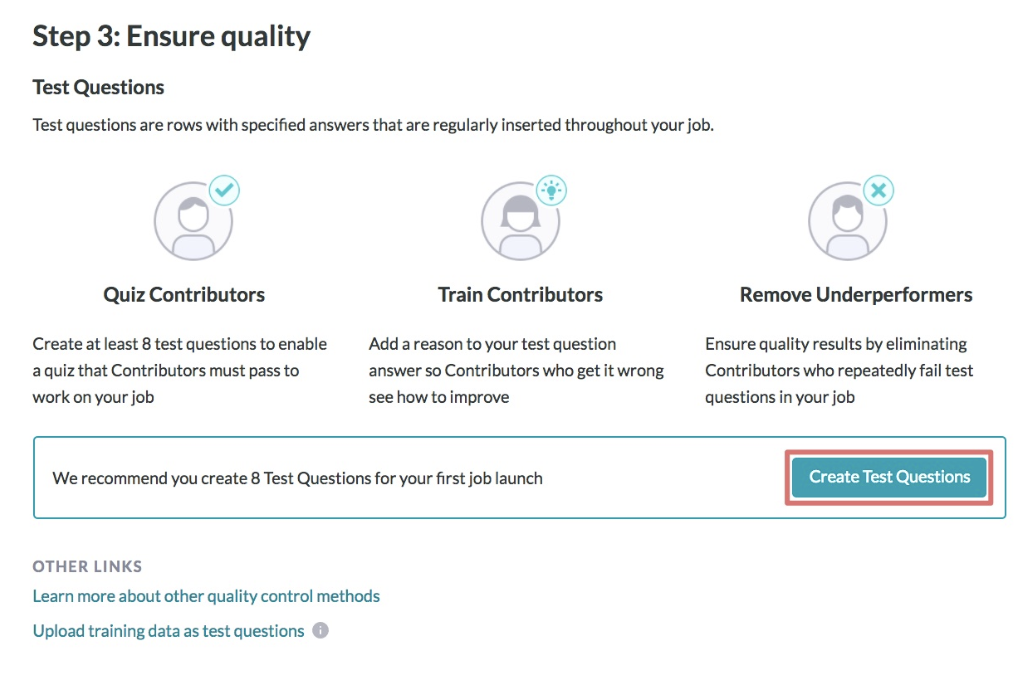
Fig. 6: Create Test Questions
6. Launch The Job
Before launching the job, it is advantageous to use the Job Launch Checklist to ensure everything has been considered in the settings.
When the checklist has been completed, click the "Launch" tab on the top right side of the page. On this page, specify the number of rows from the entire dataset to order.
The cost of the job is also displayed on the Launch page. There will be an option to add additional funds if there is a lack of sufficient funds in the team account to cover the amount displayed.
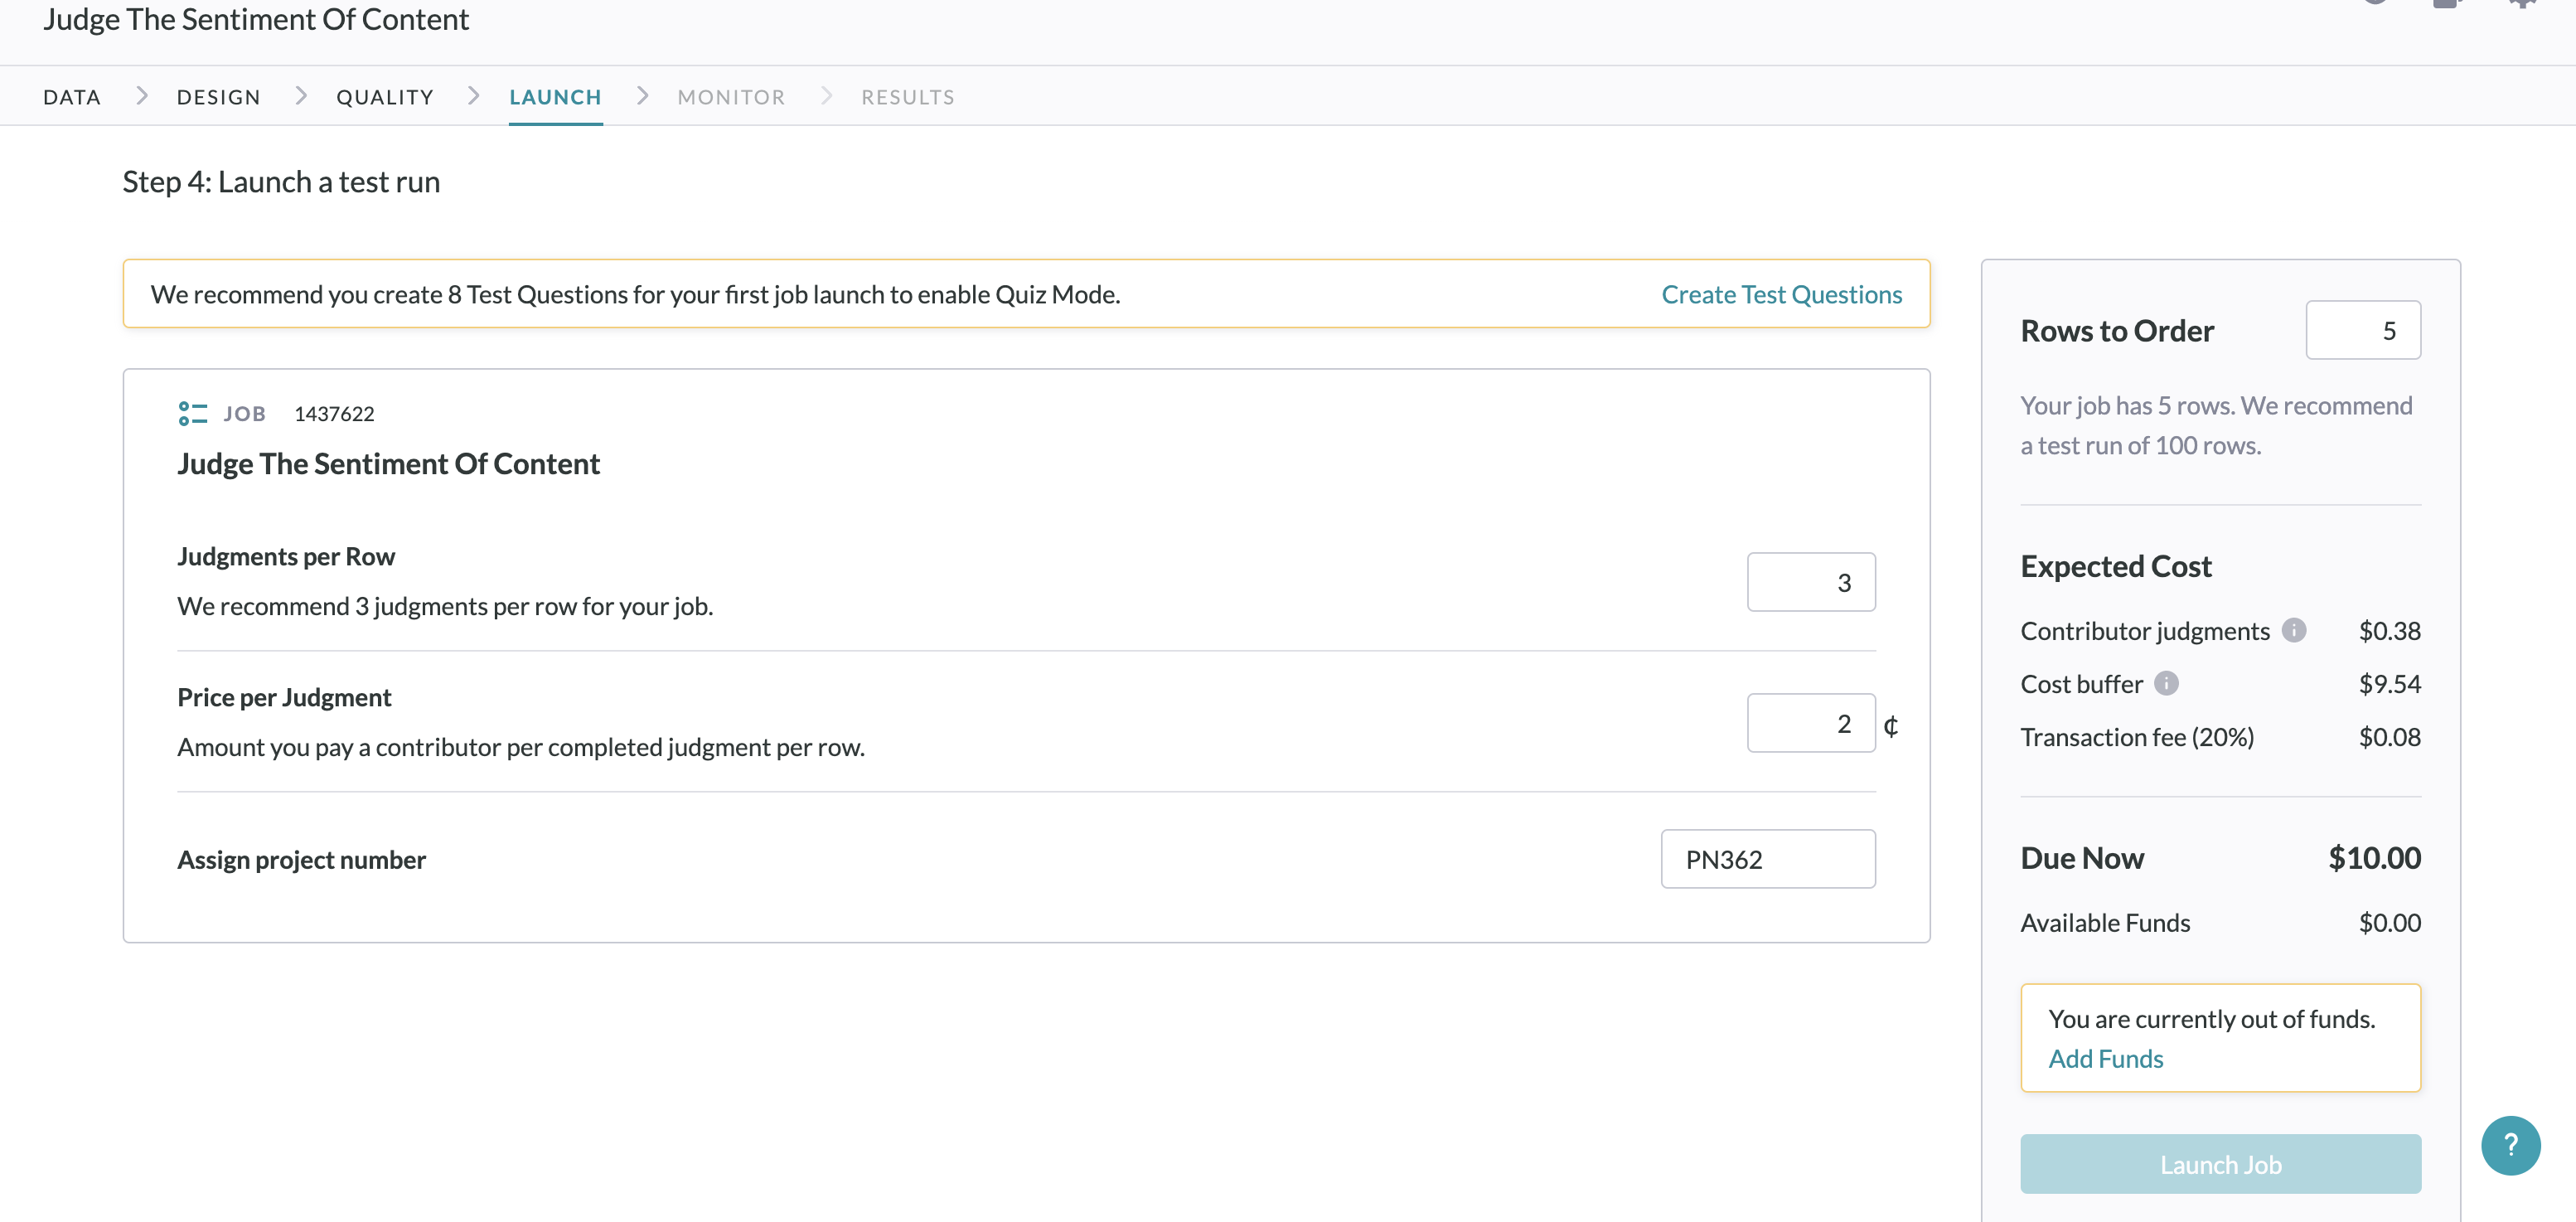
Fig. 7: Launch The Job
7. Obtain Judgments
From the moment of the job launch, the Monitor page can be used to check on the status of the job and show the number of judgments received.
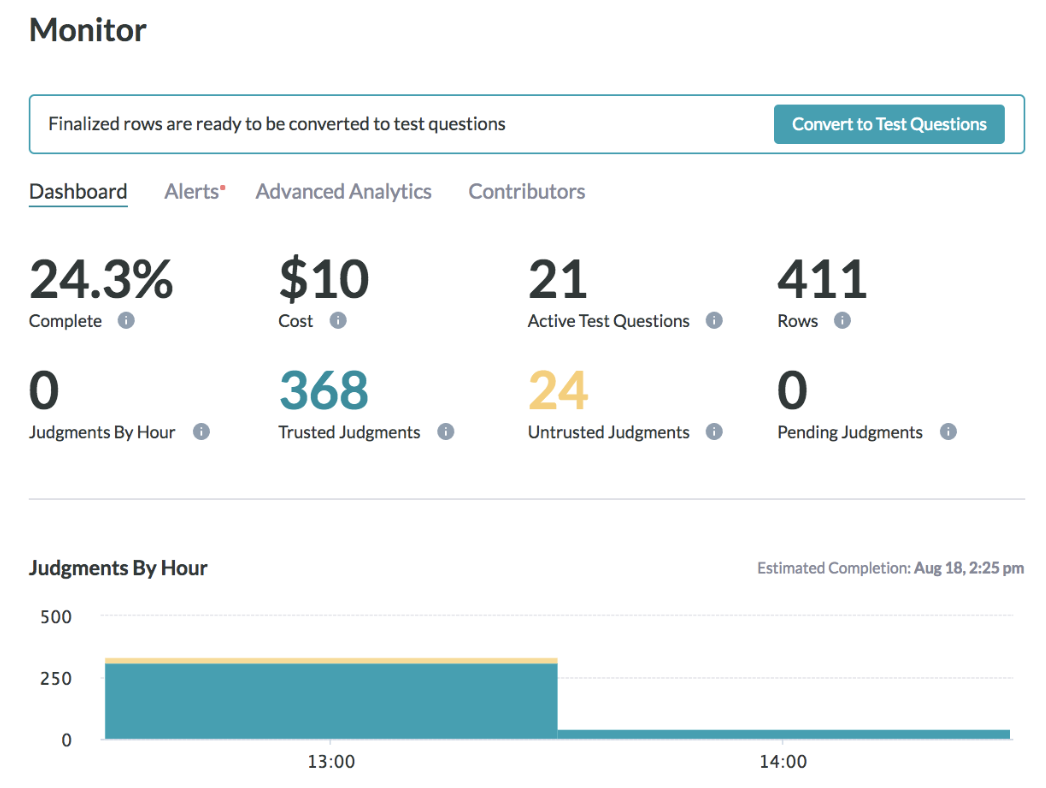
Fig. 8: Monitor Page
8. Retrieve Results
While it might be best to wait until the job is completed to review the job’s results, results can be generated and download at any time by navigating to the Reports page.
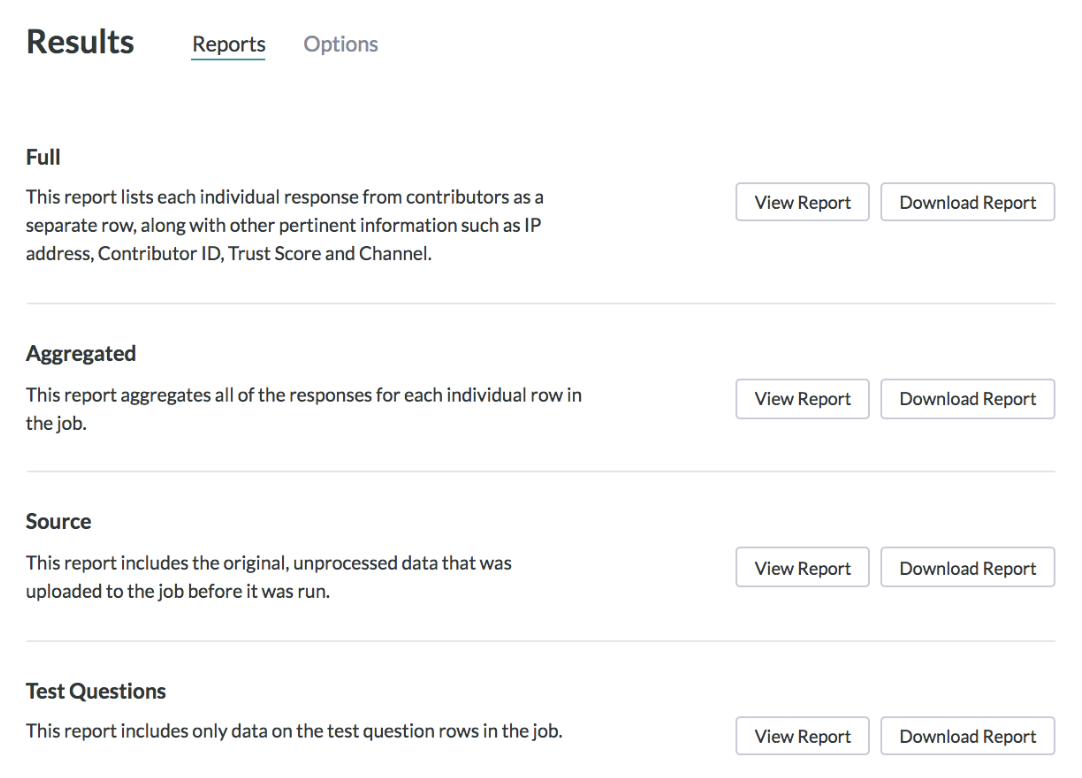
Fig. 9: Reports Page
Note: By default, the results in the aggregated report contain the response that the system has determined to be correct, based on contributor agreement weighted by their trust in the job. View the How to Calculate a Confidence Score article to learn more about aggregation. A confidence score is included in every field within the form.